 Merken
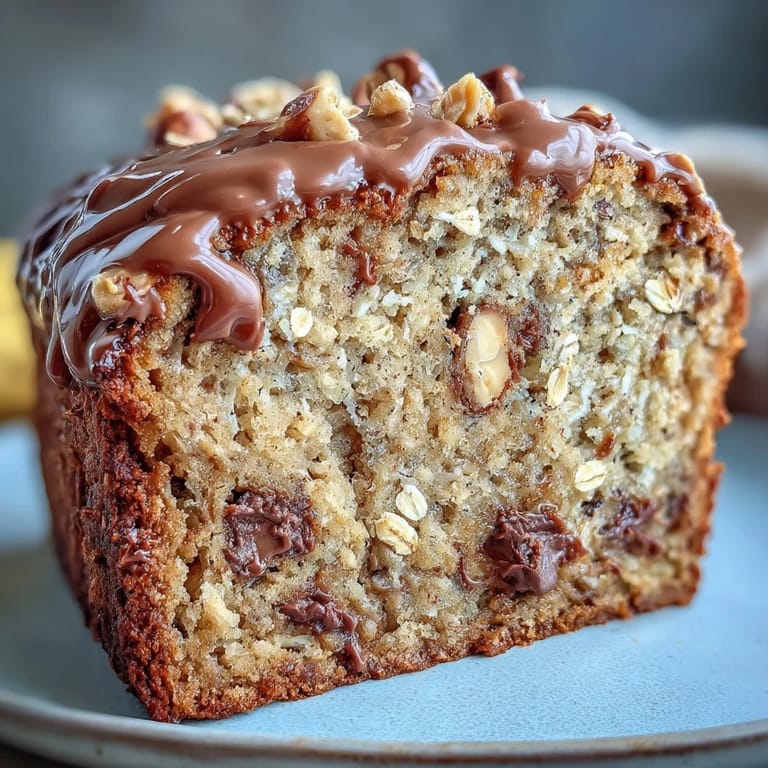
 My kitchen smelled like a candy factory the afternoon I first made this bread—not the polished kind, but the chaotic kind where three things were happening at once. A friend had dropped off overripe bananas from her garden, the creamy peanut butter jar was staring at me from the pantry, and I'd just bought chocolate chips on impulse. That's how this loaf came together, born from what I had on hand rather than any grand plan. What surprised me most was how the oats added this subtle texture that made it feel less like indulgent dessert and more like something you could actually justify eating at breakfast.
I brought a slice to my neighbor's house one morning, and she ate half the loaf before I could even explain what was in it. She kept saying something about how it didn't taste like health food, which I think was the best compliment it could get. That moment made me realize this wasn't just a breakfast bread—it was the kind of thing people wanted to come back to, again and again.
Ingredients
- All-purpose flour (1 ½ cups): The backbone that holds everything together without being heavy; measure by spooning and leveling rather than scooping directly from the bag, which always packs it too densely.
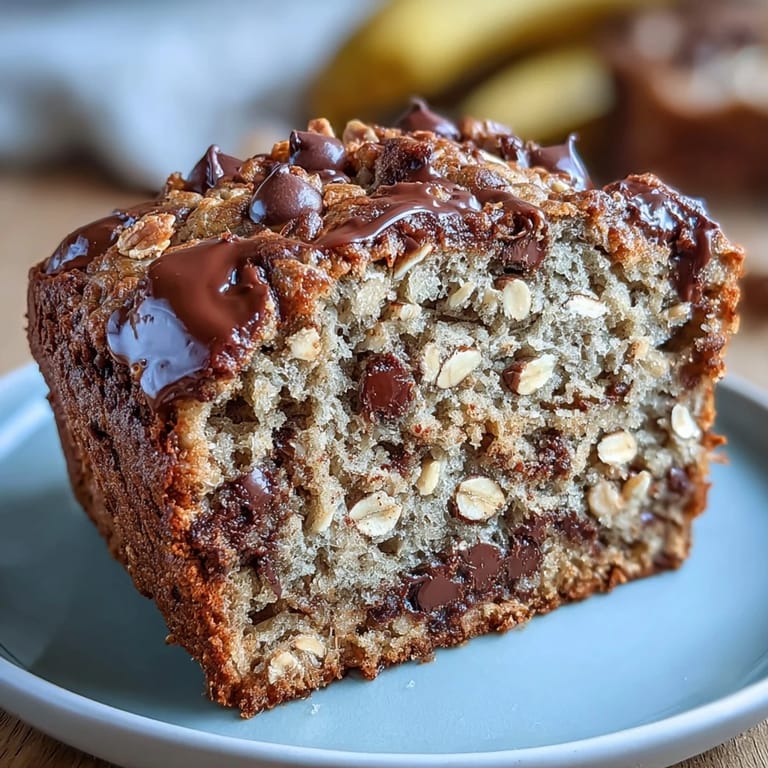
- Old-fashioned rolled oats (1 cup): These add heartiness and texture that quick oats can't match, plus they keep the bread tender and slightly chewy in the center.
- Baking soda & baking powder (1 tsp and ½ tsp): Work together to give you that perfect dome and ensure the crumb rises evenly throughout.
- Salt & cinnamon (½ tsp & 1 tsp): Salt balances the sweetness and brings out the chocolate flavor, while cinnamon whispers in the background without announcing itself.
- Ripe bananas (3 medium, mashed): The riper they are—almost brown on the outside—the more natural sweetness and moisture they contribute, which means you can use less added sugar.
- Creamy peanut butter (½ cup): This adds moisture, richness, and a subtle earthiness that keeps the chocolate from tasting one-note; make sure it's well-stirred if there's oil on top.
- Light brown sugar (½ cup, packed): Brown sugar holds more moisture than white, which keeps this loaf tender and prevents it from drying out too quickly.
- Neutral oil (¼ cup): Oil creates a more tender crumb than butter would, and it distributes more evenly throughout the batter.
- Eggs (2 large): These bind everything together and add a subtle richness that helps the bread stay moist even after a few days.
- Vanilla extract (1 tsp): A small amount rounds out the flavor profile and makes the peanut butter and chocolate taste even more pronounced.
- Semisweet chocolate chips (¾ cup): These melt slightly into the crumb as it bakes, creating pockets of chocolate throughout rather than sitting on the surface.
- Roasted peanuts (¼ cup, optional): They add crunch and nuttiness, but honestly, the bread is just as delicious without them if you want to keep things simple.
Tired of Takeout? 🥡
Get 10 meals you can make faster than delivery arrives. Seriously.
One email. No spam. Unsubscribe anytime.
Instructions
- Prepare your stage:
- Heat the oven to 350°F while you grease a 9x5-inch loaf pan and line it with parchment paper—this step matters more than you'd think, because it's the difference between sliding the loaf out perfectly or chiseling it out in pieces. If you don't have parchment, grease and flour the pan generously instead.
- Combine the dry ingredients:
- In one large bowl, whisk together flour, oats, baking soda, baking powder, salt, and cinnamon, making sure the baking soda doesn't hide in a corner where it won't distribute evenly. The whisking breaks up any lumps and aerates the mixture slightly, which helps with rising.
- Build the wet base:
- In a separate bowl, combine mashed bananas, peanut butter, brown sugar, oil, eggs, and vanilla, whisking until the mixture is smooth and the peanut butter is fully incorporated. You'll feel the texture shift as everything comes together—this is when you know it's ready.
- Bring them together gently:
- Pour the wet ingredients into the dry ingredients and fold with a spatula using slow, deliberate strokes until just combined—this is not the time to be vigorous. You want a few flour streaks visible; overmixing develops too much gluten and makes the bread tough rather than tender.
- Fold in the mix-ins:
- Add chocolate chips and peanuts, folding them in with that same gentle hand so they're distributed without crushing anything. If you want to save some chips and peanuts for the top, set aside a small handful now.
- Fill the pan:
- Pour the batter into your prepared loaf pan and smooth the top with a spatula until it's relatively level. Sprinkle your reserved chocolate chips and peanuts across the surface—they'll sink slightly as the bread bakes but also create little pockets of flavor on top.
- Bake until almost done:
- Bake for 50 to 55 minutes, checking around the 45-minute mark if your oven runs hot. The top should be golden and a toothpick inserted in the center should come out with a few moist crumbs clinging to it, not wet batter.
- Cool with patience:
- Let the bread cool in the pan for 10 minutes—this allows the structure to set just enough—then turn it out onto a wire rack to cool completely. Slicing into it while it's still warm is tempting but will make it fall apart, so give it at least 30 minutes before cutting.
 Merken
 One winter morning when the house was cold and quiet, I sliced into a loaf that had been cooling overnight, and the steam that came off it felt like the kitchen's way of saying hello. My daughter came downstairs, drawn by the smell before she was fully awake, and we sat together eating warm slices with nothing on them, just the bread itself. Moments like that are why I keep making this.
When to Slice and How to Store
The hardest part of making this bread is waiting until it's completely cool to slice it, but those first few hours while it's settling are when the crumb is still becoming itself. If you absolutely must eat it warm, let it cool at least 30 minutes and cut thick slices that won't crumble apart as you lift them from the loaf. Once it's completely cool, wrap it tightly in plastic wrap or aluminum foil and leave it on the counter, where it will stay moist for three full days—sometimes longer if you keep the wrapping tight. If you want to keep it beyond that, slice it first, layer the slices in a freezer bag with parchment between each one, and freeze for up to two months; you can toast individual slices straight from the freezer without thawing.
Ways to Make It Your Own
The beauty of this recipe is how flexible it is without losing what makes it special. You can swap the peanut butter for almond butter or sunflower seed butter if that's what you have, and the bread won't feel like a compromise—it will just taste slightly different, which is always nice. White chocolate chips work if you want something less traditional, or you can use a combination of dark and semisweet to create more depth.
The Small Details That Matter
I learned by accident that swirling a tablespoon of extra peanut butter on top of the batter before baking creates the most gorgeous marbled effect, and it also gives you little pockets of peanut butter throughout the crumb that feel like tiny gifts as you eat. The optional peanuts aren't just there for crunch—they also give the top a finished look, like you knew what you were doing the whole time even if you didn't. One more thing: if your chocolate chips keep sinking to the bottom, toss them lightly in a tablespoon of flour before folding them in—it helps them stay suspended throughout the loaf.
- If you want to make this feel more indulgent, drizzle a simple glaze of powdered sugar and milk over the cooled loaf, letting it drip down the sides.
- Always double-check your chocolate chip label for allergens, especially if you're making this for someone with sensitivities.
- The bread actually tastes better the next day, so don't judge it too harshly fresh from the oven.
 Merken
 This bread has become one of those recipes I return to without thinking, the kind that lives in your kitchen like an old friend who knows how to show up exactly when you need something warm and comforting. It never disappoints, and it always tastes like home.
Häufige Fragen zum Rezept
- → Wie lange bleibt das Brot frisch?
Das Brot bleibt bei Zimmertemperatur, fest eingewickelt, bis zu 3 Tage frisch. Im Kühlschrank verlängert sich die Haltbarkeit auf etwa eine Woche. Alternativ können Sie einzelne Scheiben für bis zu 2 Monate einfrieren.
- → Kann ich Erdnussbutter ersetzen?
Ja, Mandelbutter oder Sonnenblumenkernbutter funktionieren hervorragend als Alternative. Achten Sie darauf, eine glatte Varianten zu wählen, damit der Teig gleichmäßig wird.
- → Warum ist mein Brot trocken?
Wahrscheinlich wurde es zu lange gebacken. Beginnen Sie schon bei 50 Minuten mit der Stäbchenprobe - das Brot ist fertig, wenn noch ein paar feuchte Krümel am Stäbchen haften bleiben.
- → Kann ichstatt Zucker Honig verwenden?
Ja, ersetzen Sie den braunen Zucker durch die gleiche Menge Honig oder Ahornsirup. Beachten Sie, dass flüssige Süßungsmittel das Brot etwas feuchter machen.
- → Wie erkenne ich, dass die Bananen reif genug sind?
Die Bananen sollten gelb mit braunen Flecken sein, fast schon überreif. Je reifer die Bananen, desto süßer und feiner wird das Brot. Noch nicht ganz reife Bananen lassen Sie ein paar Tage nachreifen.